The standard for your 3D surface inspection
ZEISS INSPECT Optical 3D.
Take your inspection tasks to a whole new level. From full-field data acquisition and mesh processing to trend analyses and digital assembly, ZEISS INSPECT supports you with a consistent workflow and user-centric operation – no matter which optical measuring system you use. Easily create digital twins for a comprehensive and detailed analysis to ensure fast and precise results.
The highlights of ZEISS INSPECT Optical 3D
Use ZEISS INSPECT to analyze GD&T. The software takes care of the technical details in the background and incorporates the international standards. In combination with PMI data import, this is how GD&T inspection works in a simple way.
Leverage productivity with automated measuring cells
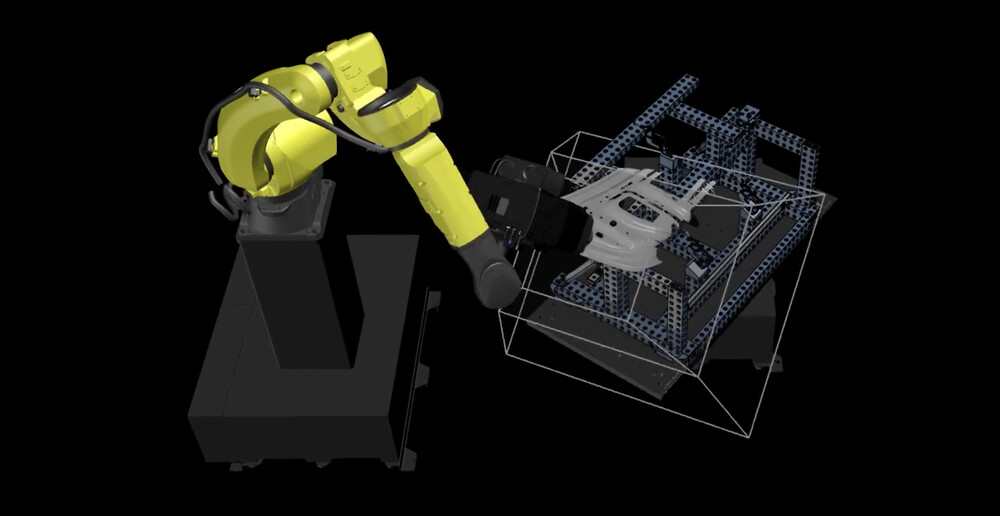
The Virtual Measuring Room (VMR) enables automatic measuring procedures and represents the real environment in a virtual simulation. Optimize your measurement planning and automate robot programming and reporting processes without a teach pendant. No special robot skills required.
Simulate the clamped state of parts – save time and space
Measure clamping conditions without any fixtures and increase your efficiency and cost-effectiveness. The software calculates the clamped condition of your parts and makes both the design and creation of fixtures superfluous – freeing up your storage space.
Your results impressively visualized
Easily create your individual reports using images, tables, diagrams, texts, and graphics in ZEISS INSPECT. Also use the presentation mode or PDF export – even with videos.
Learn more here.

